Want to learn how to integrate search tools into SharePoint Online for quick access to your information? In this article, I'll cover:
- Why I integrated a search engine into my SharePoint Online, and which tools I used
- The value of integrating search box for common tools into SharePoint
- How you too, can integrate a search engine box into your SharePoint Online!
Why I Integrated a Search Engine to SP Online, and Which Tools I Used
I work in Customer Success, where I must play a key role between different teams both from an external and internal standpoint. As a result, I have a lot of sources of information to pull from.
As part of streamlining my day-to-day access to information, I wanted to bring all the tools I use daily into an intuitive intranet. The tools I leveraged (and will show you how to integrate, below) include Collabspace Discovery cloud solution, SharePoint Online, Microsoft PowerApps, Confluence and Forms. As a result, I was able to build a landing page that offers a toolbox for a fellow Customer Success team member.
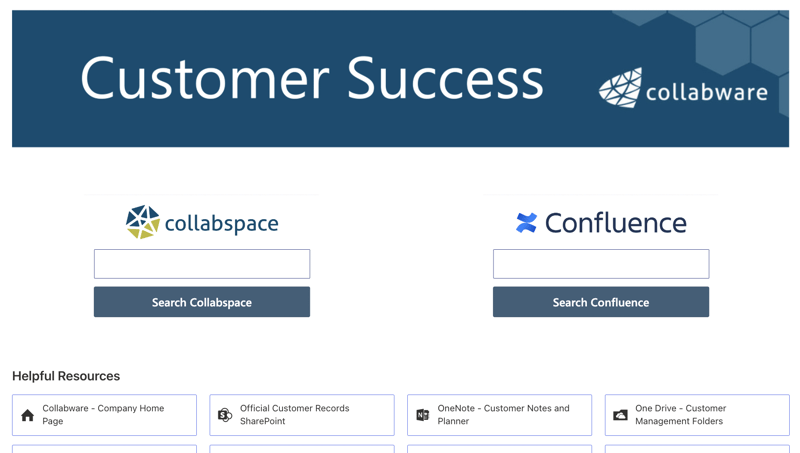
Here is the landing page:
What is the Value of this Integration into SharePoint?
The key philosophy here was to have this page reduce as many clicks as possible when trying to find resources and information. By giving me quick access to the items I need on a day-to-day basis when on call with our customers, this integration has saved me both time and frustration that can come when having trouble finding relevant content when needed.
And this value extends beyond Customer Success: any department using M365 and wanting to search and access their content faster can benefit. In the next section, I'll break down how I did this.
Read below for a step-by-step guide on how I was able to build my favourite aspect of this page which is the Collabspace and Confluence search boxes.
How To Integrate an External Search Box into SharePoint Online
I chose to integrate Collabspace, a cross platform solution that unlocks organization-wide search across all repositories (M365, Network Drives, SAP and more). It is authenticated through SSO, so if you are logged into SharePoint Online, you are by default accessing Collabspace. That is a few clicks reduced right there.
Here are the steps we took here:
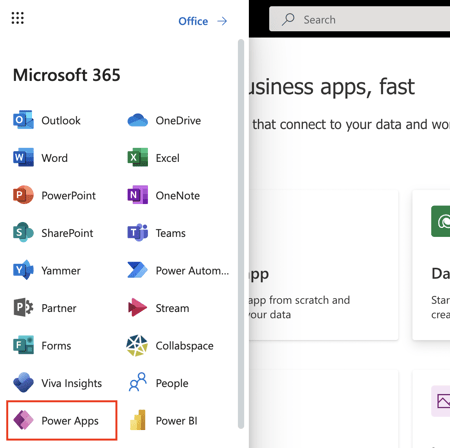
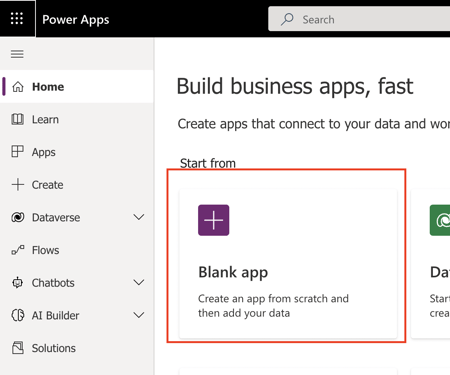
1. Go to Microsoft PowerApps
2. Start by creating a Blank app and select Canvas app
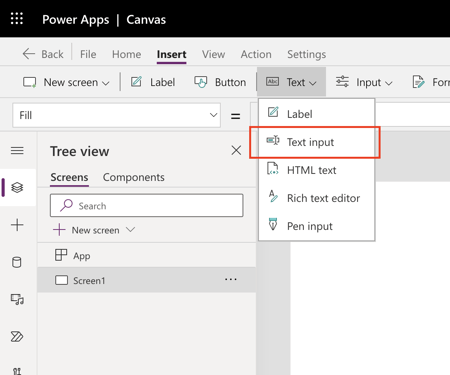
3. Create a text input option and add an image of the logo of whatever tool you want to do search in
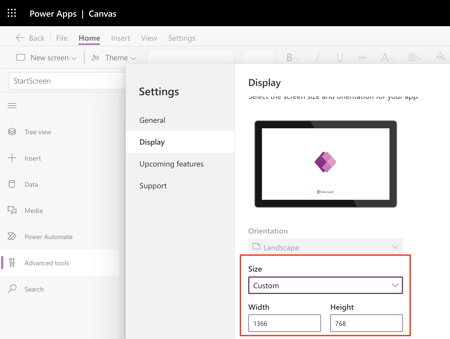
4. Customize the size of your PowerApp to suite your needs and add a logo from the Settings tab
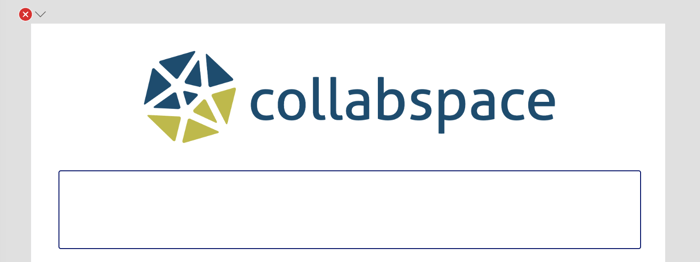
 5. At this point your PowerApp should look something like this. You want to clear the default text input and also customize font and appearance to match your needs.
6. Next, we want to do the magic that makes this all possible.
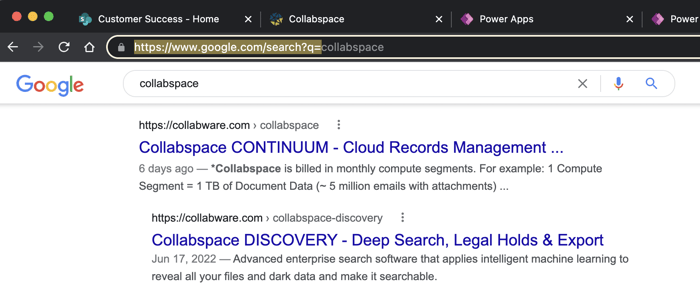
a. We want to find the search URL for Collabspace or any other application you intend on doing this for. For example even Google search can be enabled by grabbing all the text up to “=” sign
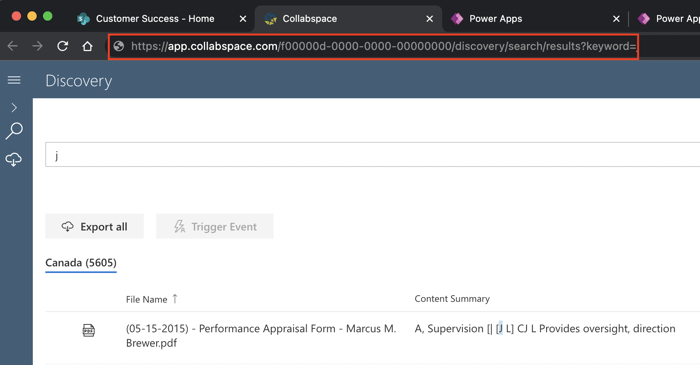
 Similarly, in Collabspace we will do the same
b. Then you want to select the text box and go to Advanced settings
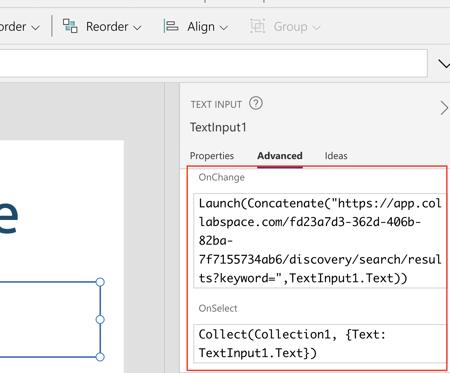 In there we have two things we want to change OnChange and OnSelect
i. OnChange will be changed to
Launch(Concatenate("SEARCH URL",TextInput1.Text))
ii. OnSelect will be changed to
Collect(Collection1, {Text: TextInput1.Text})
c. You can now save your changes
d. At this point your Powerapp will search anything that is inputted into the body of the text box
7. You can also add a button and enable search by clicking it by inputting the following to the OnSelect option.
Launch(Concatenate("SEARCH URL",TextInput1.Text))
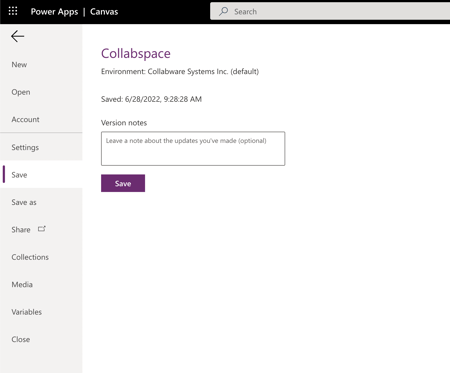
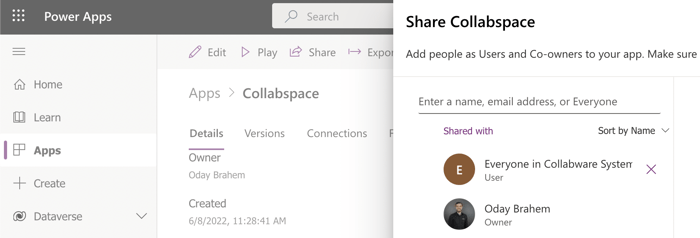
8. Make sure you Save and then Share your PowerApp so that you can get the URL
 Once you share you want to ensure that everyone you want using this have access:
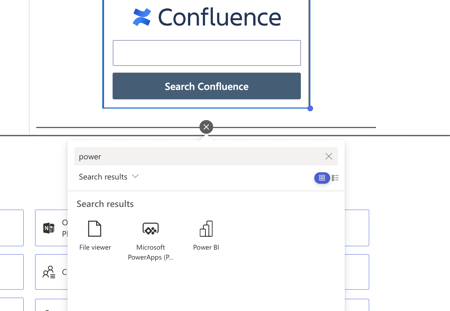
9. Now, you can go into SharePoint and add the PowerApp, all you need to do is input the URL and voila, your users can now Search a different tool directly from SharePoint Online Intranets.
That’s all you need to build a search box for many of the tools you have!
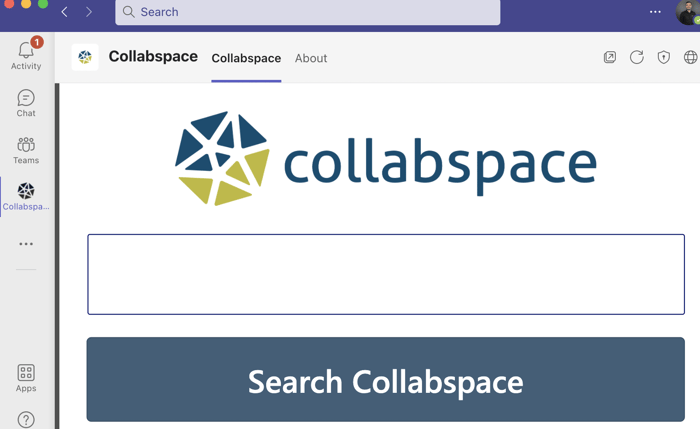
What’s awesome about PowerApps is that once you create them, you can even add them to Microsoft Teams.
This is an especially important aspect of any tool you want your users to leverage, if you want adoption, it really needs to be seamlessly integrated into as many places as possible. Collabspace already can search across the entire M365 suite (SharePoint, OneDrive, Teams, Exchange) and having it available across several of these solutions completes the integration.
Other ways I can suggest leveraging other search tools will be integrating them into the results page of a SharePoint search. User can search SharePoint and if they don’t find the result, a Collabspace search can quickly do the same query across several repositories. I’ll be doing a guide on this in the future, so stay tuned and drop a comment if you have any questions.
You can also contact us (we have a Services Team of experts in M365 and information management who are happy to help!).
Want more M365 content? Check out the Collabware blog for other helpful articles about SharePoint, M365, RM and more. We also have a feature chart showing the capabilities of M365 levels E3 + E5 which you can download for free, below: